Implement Progress Bar Using Android Studio
Steps To Design Progress Bar Using Android Studio
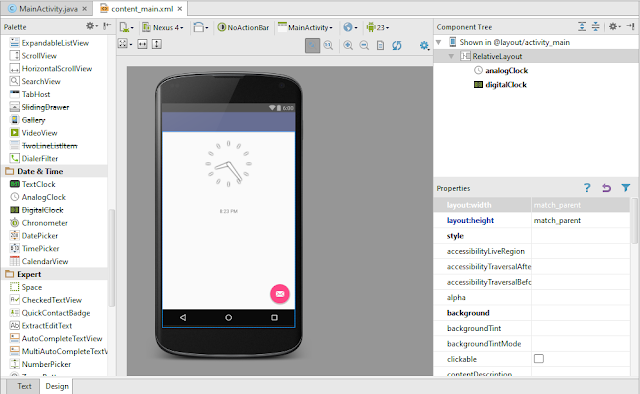
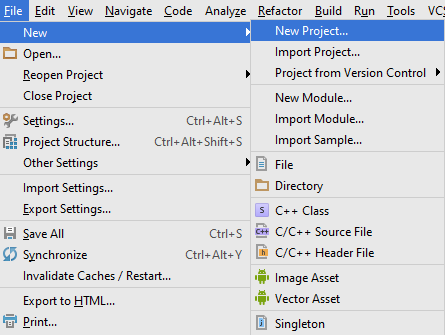
1.Open Android Studio
2.Drag a Button and Provide appropriate name and id for the Button
Xml file for Button Design...
3.Now,Lets work with MainActivity.java file....refer the following code...
4.That's It....You Are Done!!.....


If You are New or Don't Know How To Run App On Emulator Go to My Following Link...
Run App On Emulator..
Thank You...!!!

Comments
Post a Comment