Design Analog and Digital Clock Using Android Studio
Implement Analog and Digital Clock Using Android Studio
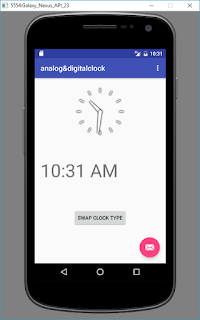
1.In this Tutorial,By Hitting the Button We are going to swap the clock type...
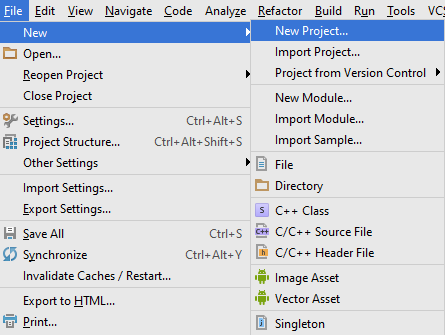
Step 1: Open Android Studio...
Step 2:Create New Project...
Step 3:
a.Drag Analog Clock and Digital Clock from date and time as shown below...
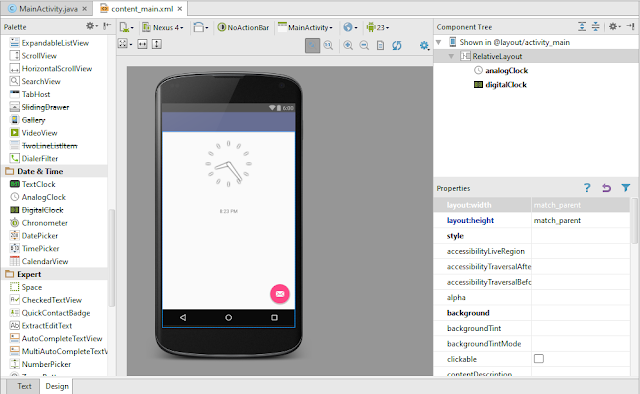
b.Drag a button....Provide appropriate id,name and OnClick property for the button by accessing properties...

Step 4:
Now Lets Work with MainActivity.java file.....
Refer the following code..
Step 5:
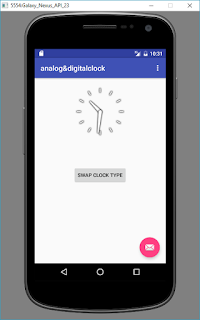
Now Lets Run the App and Test on Emulator...
1.In this Tutorial,By Hitting the Button We are going to swap the clock type...
Step 1: Open Android Studio...
Step 2:Create New Project...
Step 3:
a.Drag Analog Clock and Digital Clock from date and time as shown below...


Step 4:
Now Lets Work with MainActivity.java file.....
Refer the following code..
Step 5:
Now Lets Run the App and Test on Emulator...
Its Working...!!


If You are New or Don't Know How To Run App On Emulator Go to My Following Link...
Run App On Emulator..


If You are New or Don't Know How To Run App On Emulator Go to My Following Link...
Run App On Emulator..
Thank you...!!!

Hi! I am android learning beginner and unable to understand that how condition is implemented. Can you explain the below code.
ReplyDeleteif(digital.getVisibility() == DigitalClock.GONE)
Thankyou for this wondrous post, I am glad I observed this website on yahoo. watches
ReplyDelete