Build Your Android Application APK File Using Android Studio
Generate Your Android Application Apk File
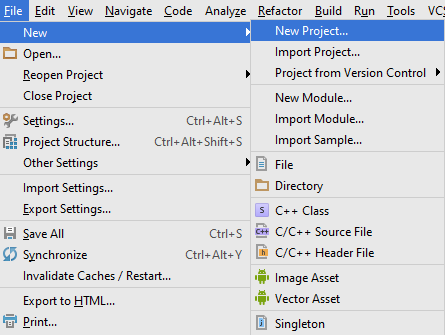
1.Open Your Project In Android Studio From Which You Want to Generate Your APK File
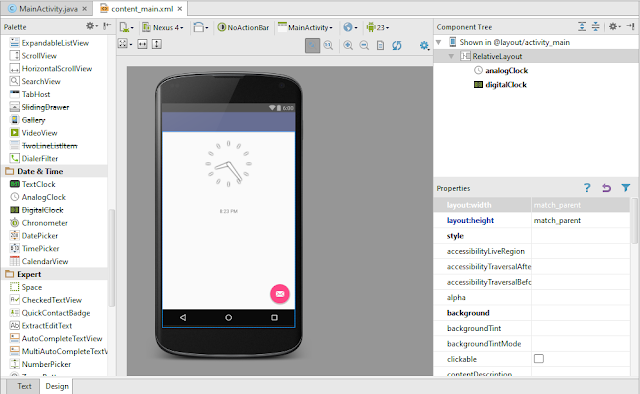
As Shown Below I Have Created a Simple "Hello World" Project.....


3.Select "Build Variants" from the List....

4.After selecting "Build Variants"....As You Can See Below The App Is In "Debug" mode...


6.Once You Are Done With The "Build Variants"....Click On "Build".....and Select "Generate Signed APK..."


8.The Following Window Creates New Key Store Path as shown
1.Alias : Key Name
2.Password & Confirm Password : Create A password for key name
3.Validity :The Existence for the android app is by default 25 years
4.First & Last Name : Provide Your Name
5.Organisation : Provide Name Of Organisation
6.Key store path: Provide The Path To Store Your Apk Files
7.Password: Provide Password for Authentication

At 6th Step Browse The Location and Provide APK Name and Say "OK"..............

9.Provide The Following Details And Say "OK"...

10.The Following Window with Your Details should appear Click "Next"....
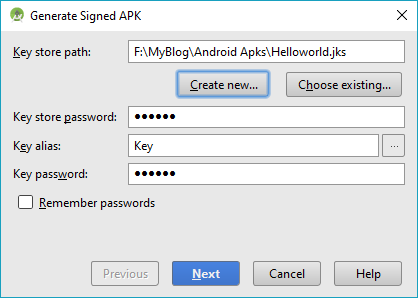
10.The Following Window with Your Details should appear..As You can See The Build Must be In release mode to Generate Apk...You Can Also Change The "APK Destination Folder" and... Click "Finish" To Proceed Further....

11.Once You Are "Finish" The Apk gets generated and Shows a Pop-Up Message with "Generated Signed Apk" as shown Below....

12.Select "Show In Explorer"

13.Following window May appear...

14.Go to "Show In Explorer" will Open the "apk Destination Location"...

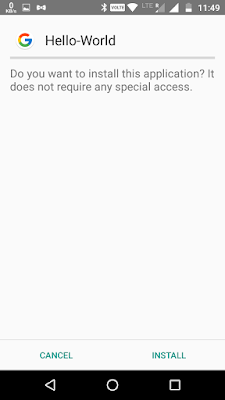
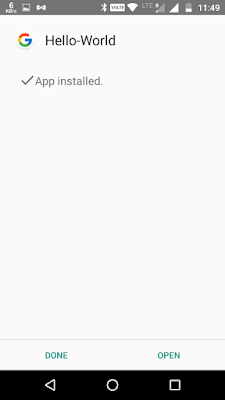
15.Now You Have Successfully Launched Your Apk File...Lets Test the File....
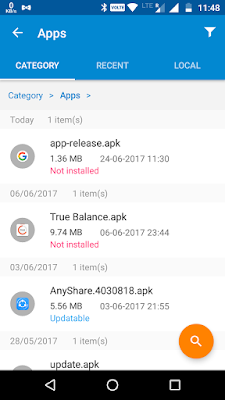
As Shown Below I have Copied the Apk File Into Cellphone...
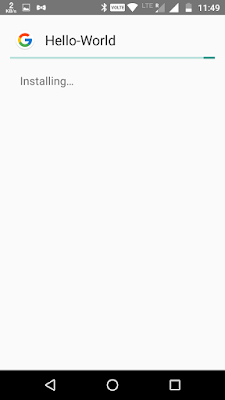
and Its Working!!!!

1.Open Your Project In Android Studio From Which You Want to Generate Your APK File
As Shown Below I Have Created a Simple "Hello World" Project.....

If You wish to create the same "Hello World" Project In Android Studio Project Go Through My Links Given Below....
2.Now, Hover Cursor on "Gradle" which is at Left-Corner as shown....(Don't Click...The Options Won't Display)

3.Select "Build Variants" from the List....

4.After selecting "Build Variants"....As You Can See Below The App Is In "Debug" mode...

5.Here, In Order To Generate APK File You Need To Select the "release" mode...
Because, When You Are Testing Your Application It must be in "Debug" mode But If You Wish To Generate APK file Its good To have in "release" mode..


7.The Following Window Shall Appear...........
1.Key store path : Create A Key Store Path
2.Create new : Creates new Path For Key Store path
Select "Create new.." to Create New Path...

8.The Following Window Creates New Key Store Path as shown
1.Alias : Key Name
2.Password & Confirm Password : Create A password for key name
3.Validity :The Existence for the android app is by default 25 years
4.First & Last Name : Provide Your Name
5.Organisation : Provide Name Of Organisation
6.Key store path: Provide The Path To Store Your Apk Files
7.Password: Provide Password for Authentication

At 6th Step Browse The Location and Provide APK Name and Say "OK"..............

9.Provide The Following Details And Say "OK"...

10.The Following Window with Your Details should appear Click "Next"....

10.The Following Window with Your Details should appear..As You can See The Build Must be In release mode to Generate Apk...You Can Also Change The "APK Destination Folder" and... Click "Finish" To Proceed Further....

11.Once You Are "Finish" The Apk gets generated and Shows a Pop-Up Message with "Generated Signed Apk" as shown Below....

12.Select "Show In Explorer"

13.Following window May appear...

14.Go to "Show In Explorer" will Open the "apk Destination Location"...

15.Now You Have Successfully Launched Your Apk File...Lets Test the File....
As Shown Below I have Copied the Apk File Into Cellphone...
and Its Working!!!!


Thank You...!!

Comments
Post a Comment